Sunday, May 9, 2010

Testing: Why It's Important for Good Dichroic Jewelry Design

Dichroic glass is often used to make fused glass jewelry because it adds dimensions of depth and sparkle that can change in different lights and when viewed at different angles. This is because each sheet is coated with 30-50 ultra thin layers of different metals (gold, silver), metal oxides (titanium, chromium, aluminum, zirconium, magnesium) and silica. In fact, the coating created is very similar to that of a gemstone.

Dichroic on Clear and Black Glass (Smooth and Textured Bases)

To complicate things a bit, dichroic glass has a transmitted color and a completely different reflected color as certain wavelengths of light either pass through or are reflected. Thus, here's a case where what you see is not always what you get. As dichroic glass is the most expensive type of glass, testing is important since the glass will change after it's fired. The color of the base glass (if clear dichroic is used) and the use of a clear glass cap will also effect the end result. So, typically, test swatches are useful as they allow you to see the final result without wasting much glass. Test swatches also create a library of colors as unfortunately, colors vary by manufacturer and sometimes by batch.

Notice how the unfired glass on the right looks lime green.

As I start being more intentional about making fused glass jewelry from dichroic glass, these swatches will be handy for design. Here's an example of a finished pendant:

Sunday, May 2, 2010

What I Learned from Experimenting with Silver Wire Inclusions

I'm working on developing more fused glass jewelry in the form of pendants, pins and earrings. Typically, to make or attach a bail, you would grind a channel on the side for the wire or use glue. However, my idea of tack fusing earrings doesn't allow for a channel because the depth is too narrow (2-3mm). I also want to add a few Swarovski crystals at the bottom and need to attach them to a loop. So, I've decided to putting a silver wire in between the layers. Once fused, I will wire wrap two loops, one on each side to attach the ear wire on the top and crystals on the bottom.


Here's what I learned from using wire:
  • 99.9% silver works well as it fires a bright silver and doesn't tarnish from the heat
  • The wire will need to be hardened after it's fired regardless of whether you've hardened it before
  • Silver wire will fuse to another piece of wire but can be easily unattached
  • The wire will discolor the kiln shelf, so it's best to place Thinfire under it. And, while the shelf may "look" fine afterwards, the silver may still discolor the back of any glass later fired on the shelf.
  • If you buy thin wire (I purchased 22 gauge), there's no need to flatten it with a hammer as it doesn't create any bumps when fired. However, it does help if you glue the wire in place and top layer to the bottom.
  • With a small item, there's no need for a bubble squeeze even with the wire between two layers of glass
Here's how they turned out. I'm happy with them, what do you think?


Saturday, May 1, 2010

Do's and Don'ts For a Mini Gallery Installation

I'm still trying to figure out the right venues to show my fused glass art and jewelry. This year, I'm participating in the Pro Arts Gallery's East Bay Open Studios, where over 400 artists in the Bay Area open their studios or rent out space to show off their art. The majority of participants are painters and then there are a few of us others who make ceramics, mosiacs, glass, and jewelry. All the participants receive a 20" x 20" wall space in the gallery to show off a sample of their work. Even though Pro Arts publishes a printed and online directory, about half of the art enthusiasts visit the gallery to see the work displayed to determine which artists they will visit. Thus, what is displayed on the wall is important to encourage studio traffic.

So, how do you display fused glass pieces in a 20" x 20" wall space? Here's what I learned.

Do's
  • Go to the installation workshop. I learned a lot about what I could do and couldn't do which effected the final installation. As we need to repair the space afterwards, I couldn't actually install my glass panel as planned. I also learned that any jewelry needs to secure in a shadow box, again something else I hadn't anticipated.
  • Consider enlarging photos if you can't display the actual work. Ritz Cameras was a great resource. I blew up a picture of my panel to 11" x 14" and it was done in an hour! They have large selection of sizes so that you could have photos that are close to actual. Mine was a little smaller because I wanted to have a more than one photo.
  • Measure and sketch out the display design in advance.
  • Take the time to mount your work. It's amazing how a black background really frames everything.
  • Coordinate colors of your display. Backgrounds and frames should be the same color. Art pieces should also be in the same color family.
  • Take advantage of all the easy ways to display your work - staple velcro to the wall and attach the other side to your mounted work (if it's light), use wire to hang jewelry and spray mount works as a great, even adhesive.
Don'ts
  • Wait until the last minute to figure out the display design. Fortunately, there are places like Ritz that can enlarge photos in an hour.
  • Buy items for your display online. Even with a layout in mind, how it finally turns out will most likely evolve as you are exposed to new options. Being able to see something in person gives you ideas of new possibilities. It's also easier to return unused items when the layout changes.

And, here's how the display turned out. What do you think? I'll keep you posted on the response, although the open studios aren't until June. However, there's an artist networking event next week, so I'm sure people will be commenting on the different items displayed.

Saturday, April 24, 2010

Spring Trend: Florals and How to Wear The Look

One of this year's trends is florals. When you look around, spring is in the air, flowers are beginning to bloom, so why not join in?

If you're a person who prefers to wear solids, like me, you can still incorporate the floral trend in a variety of ways:

1. Go with larger, looser floral prints - this is not the dainty floral print but something a little bolder and more contemporized. I find that a mix of solids and florals help to tone it down and provide balance - shirts with a mix of solids and prints or a floral top and a solid cardigan.

2. Try the cardigans and tees with floral appliques. These have been around for a while and are still in style this year with increased availability.

3. Use floral accessories to add to your basic wardrobe. This can be in the form of earrings, bracelets and necklaces. My personal favorite are pins because they actually embellish the article of clothing. I have a large collection of floral pins that I purchased from various art shows which I typically wear in the winter as most of them are knit. Given my preference for floral pins, I decided to try to create some out of glass. Here's a few just out of kiln.
These or something similar can easily add color and incorporate the floral look to any jacket, cardigan, top or tee.

6C5ZMBWAMZPF

Monday, March 29, 2010

Get Started Decorating!

With Spring here, the sun is out and the window coverings are open to let in the light. Glass looks wonderful in the light, so this is a great time to get started!

For those of you who are hesitant because of "glass is fragile," fused glass is much more durable than you think. Each piece is made from at least 2 layers of glass. If you feel a piece, you'll find that it's pretty thick and heavy. I can attest to having dropped at least 3 coasters from 3-4 feet in height on concrete with no chips or breakage!

Getting Started
1. Focus on one room at the beginning.
Look for areas to display glass -- empty shelves, tables, wallspace -- or items that you want to replace or update. Take measurements, especially when you are limited in height or width. Having the right sizes allows you to purchase an item when you see it. As most glass art is not mass produced, you don't want to have someone else purchase the piece that's just right for your house because you need to go home to measure. Most artists, like me, want you to be thrilled with your purchase and are willing to exchange the item if it's not right.
2. Determine your color scheme.
Think about what colors you love, what colors you have and what colors you want to have. If your room is a neutral color like beige, you can add just about any color. Glass can also help you update your colors by adding in a new color and swapping out the old accent color. Finally, glass can enhance your existing color combinations as long as it's a complementary color. For example a blue and green room could add third color such as purple or yellow, especially as an accent color.
3. Add pieces to other rooms as you find them.
What will happen as you start to look is that you'll find something you love that's not in the color scheme of your focal room. If you love it and think it will fit somewhere else in house, then get it. Often after I find a glass piece I love, I walk around the house looking at the different places it could go. I may have an idea when I buy it (sometimes I'm right, sometimes I'm wrong) but I always find a place for it :)
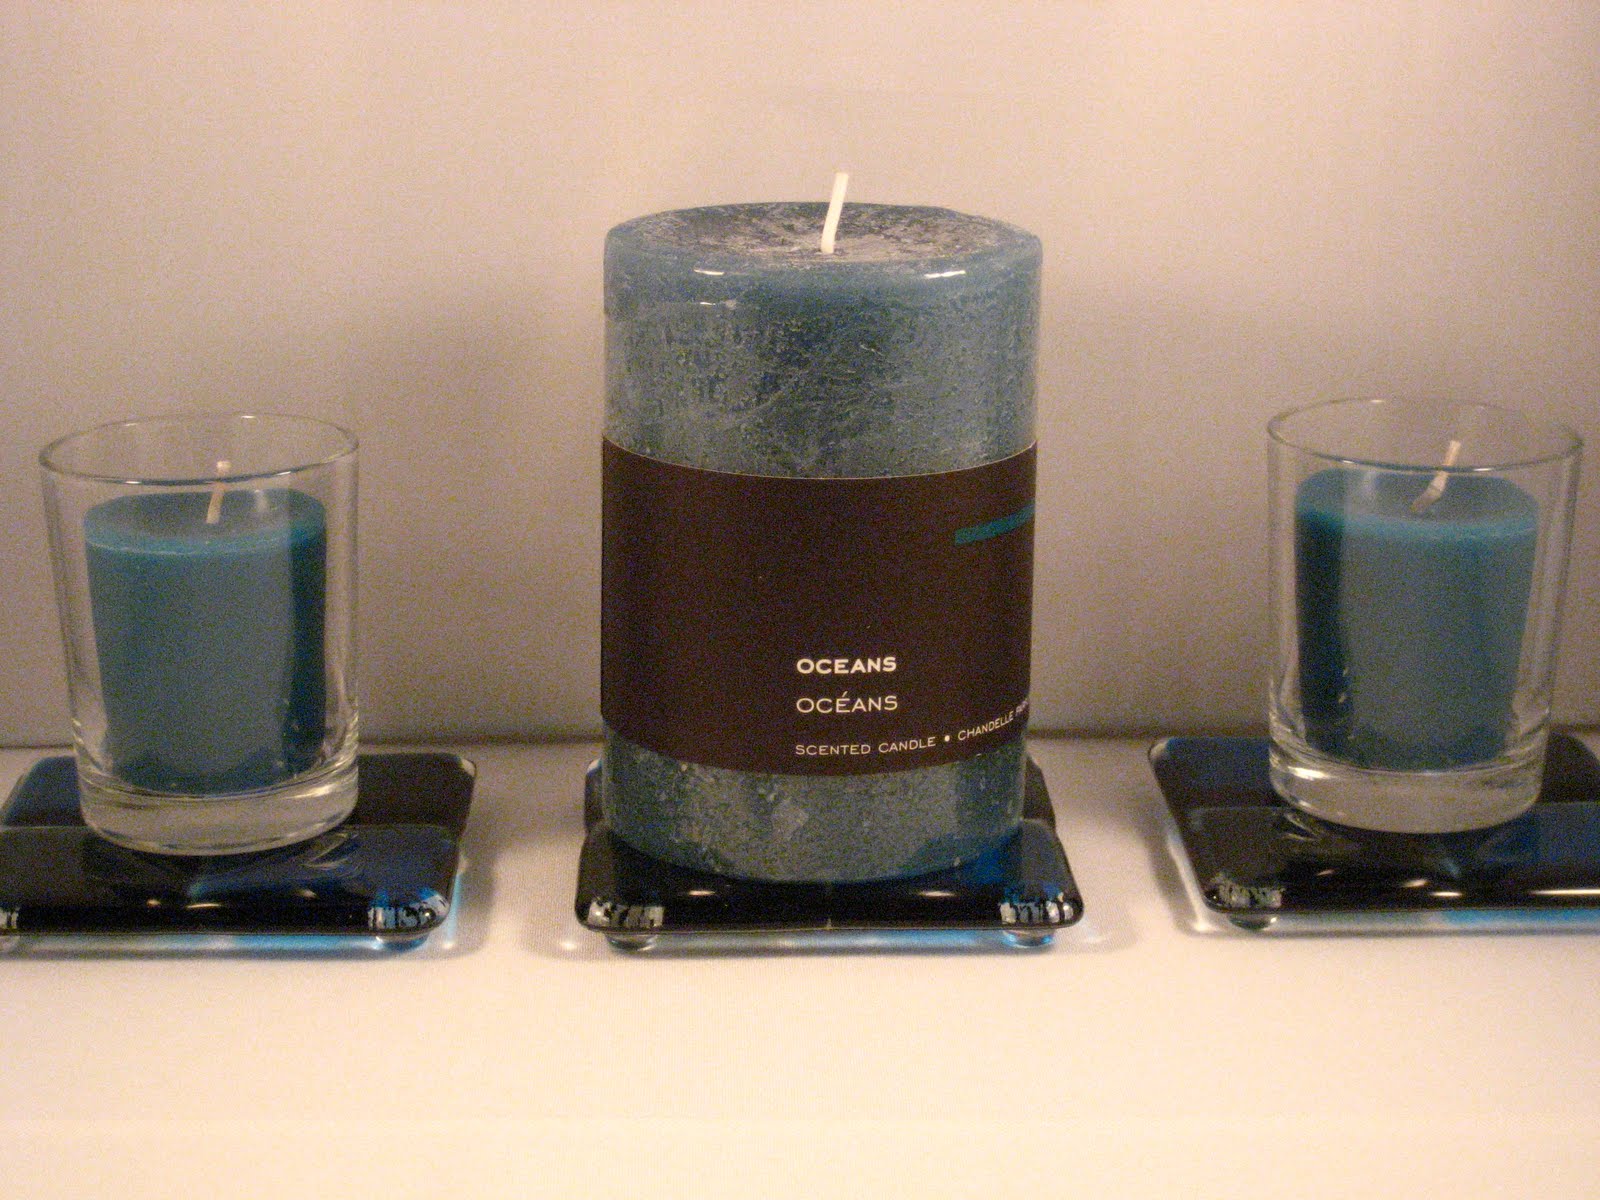
4. Display the glass as is or make it more functional.

As as enthusiast, I prefer to display glass as it is. However, you could also make it functional as well. For example, you could place a candles on a glass plate or fruit on a platter. I do have one functional way I use glass and that's with coasters. I put 3 under a set of candles and use the 4th under a liquid soap dispense. This adds a nice touch of color to both the candles and the sink area.